Quickly Learn How To Add Film Frame PNG in Photoshop and Premiere Pro Easy and Fast!
In this tutorial, using our Photo Film Frame PNG Pack, we’ll walk you through how to easily add photo film frame png to your photo and video footage with a few clicks.
Drag and drop Kodak 400, 800, Ilford XP2, Instax Polaroid, Hasselblad, Holga 120N Color, and Lomokino Sprocket Panorama film frame overlays to craft truly original film looks for your photo and video content.
Compatible with All Video and Photo Editing Software! Adobe Premiere Pro, Photoshop, Final Cut Pro X, Davinci Resolve, After Effects, Vegas, and more.
How to Add Photo Film Frame PNG in Premiere:
- Step 1: Drag & Drop Film Frame PNG on top of your video or photo layer.
- Step 2: Scale down Film Frame PNG to fit within the composition / sequence size.
- Step 3: Reposition, scale down appropriately, and crop video or photo layer to fit within the film frame of your choice.


How to Add Photo Film Frame PNG in Photoshop:
- Step 1: Drag & Drop Film Frame PNG on top of your video or photo layer.
- Step 2: Reposition, scale down appropriately, and crop video or photo layer to fit within the film frame of your choice.


Download 101 Photo Film Frame PNG Now!

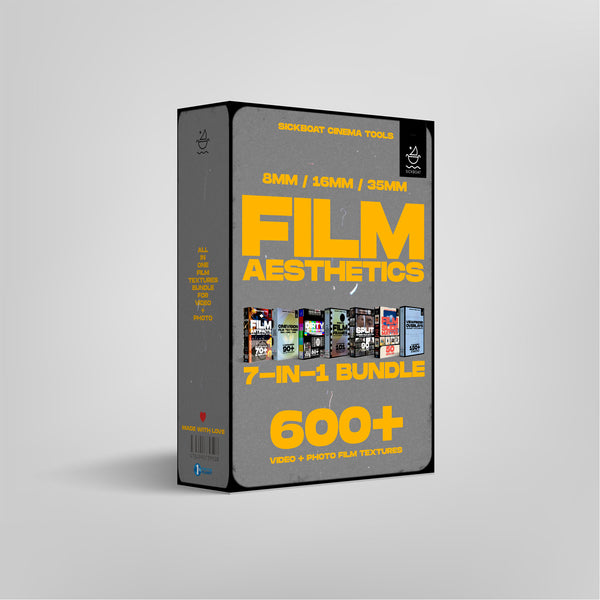
SEPARATE YOURSELF FROM THE MASSES INSTANTLY, WITH 600+ FILM TEXTURE ASSETS. THIS 7-IN-1 BUNDLE IS THE ULTIMATE FILM TEXTURES TOOLKIT FOR CONTENT CREATORS, GUARANTEED.


► Subscribe to our Youtube for Exclusive Product Deals and Tutorials! https://bit.ly/sbctsub
🔥 Follow us: https://linktr.ee/sickboat
💰 Shop Cinema Tools: https://sickboat.com/collections/all
🖥 Design, Video Editing, and Motion Tutorials: https://sickboat.com/pages/tutorials


